- Changing the default base
wp-jsonto something else - Create sub command of a main command
- Different ways to log ouput in WP CLI
- Optional positional arguments?
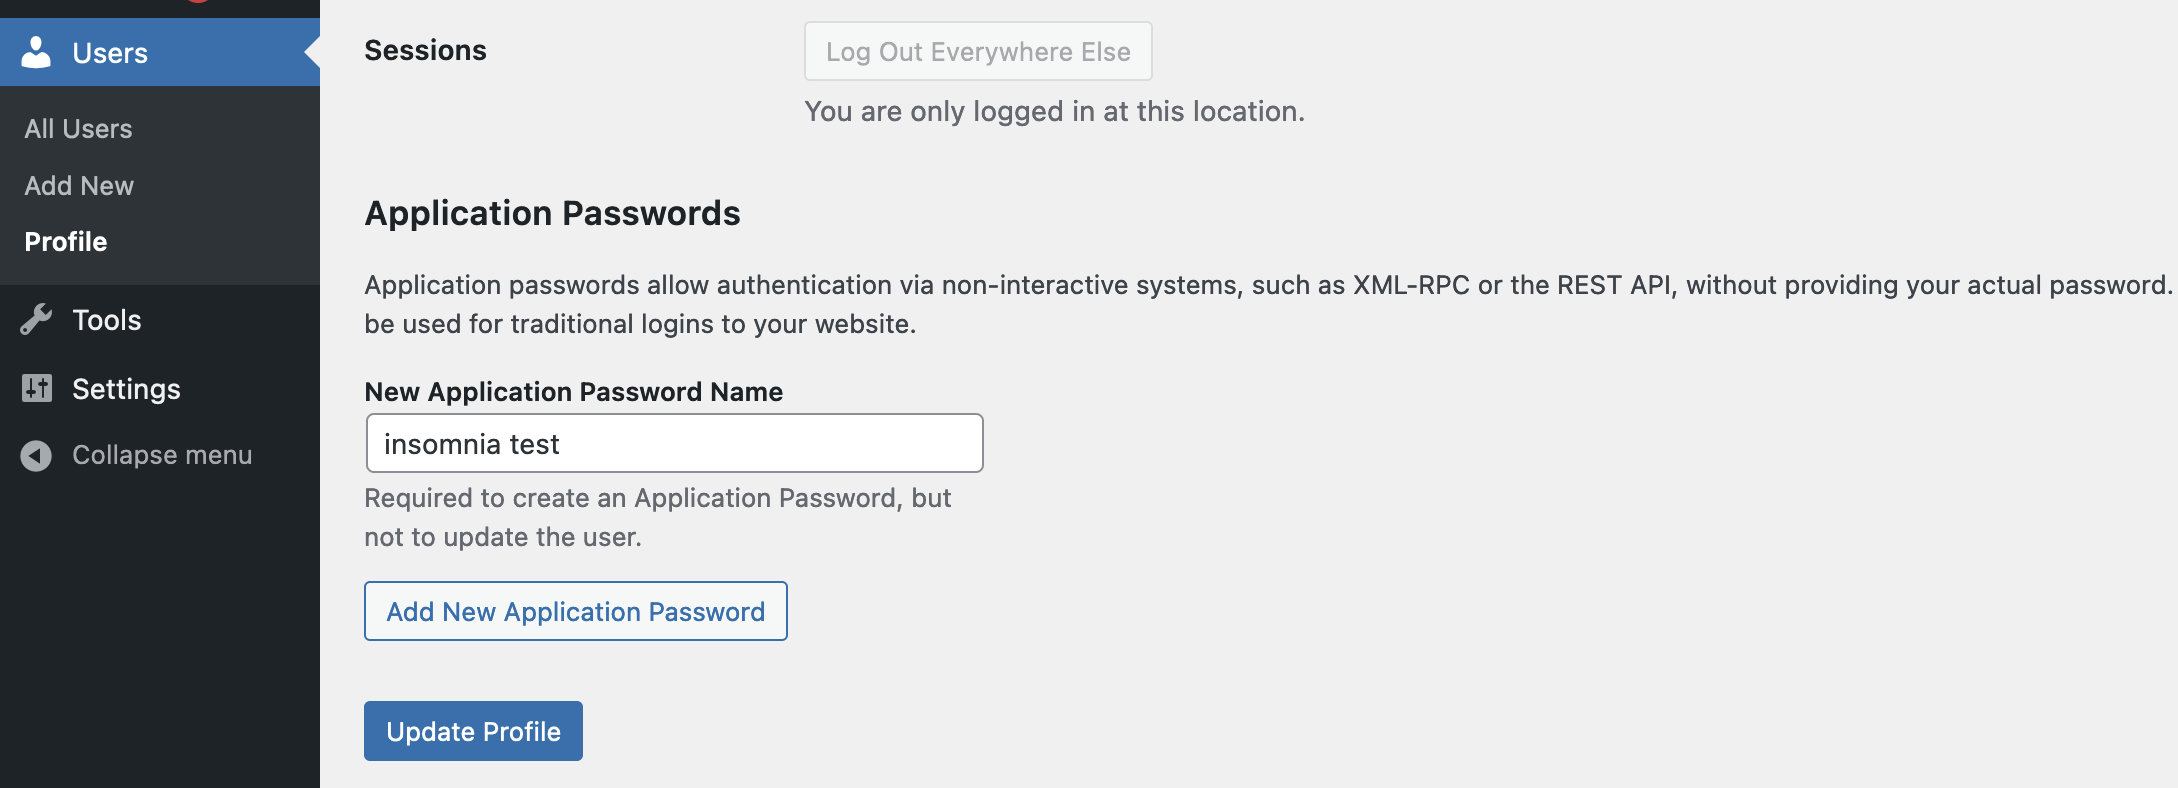
Can we change the default prefix of the wp rest api ?, there’s a hook for that!
We can use the filter rest_url_prefix to change the default wp-json to something else
add_filter('rest_url_prefix', function(){
	return 'api';
});

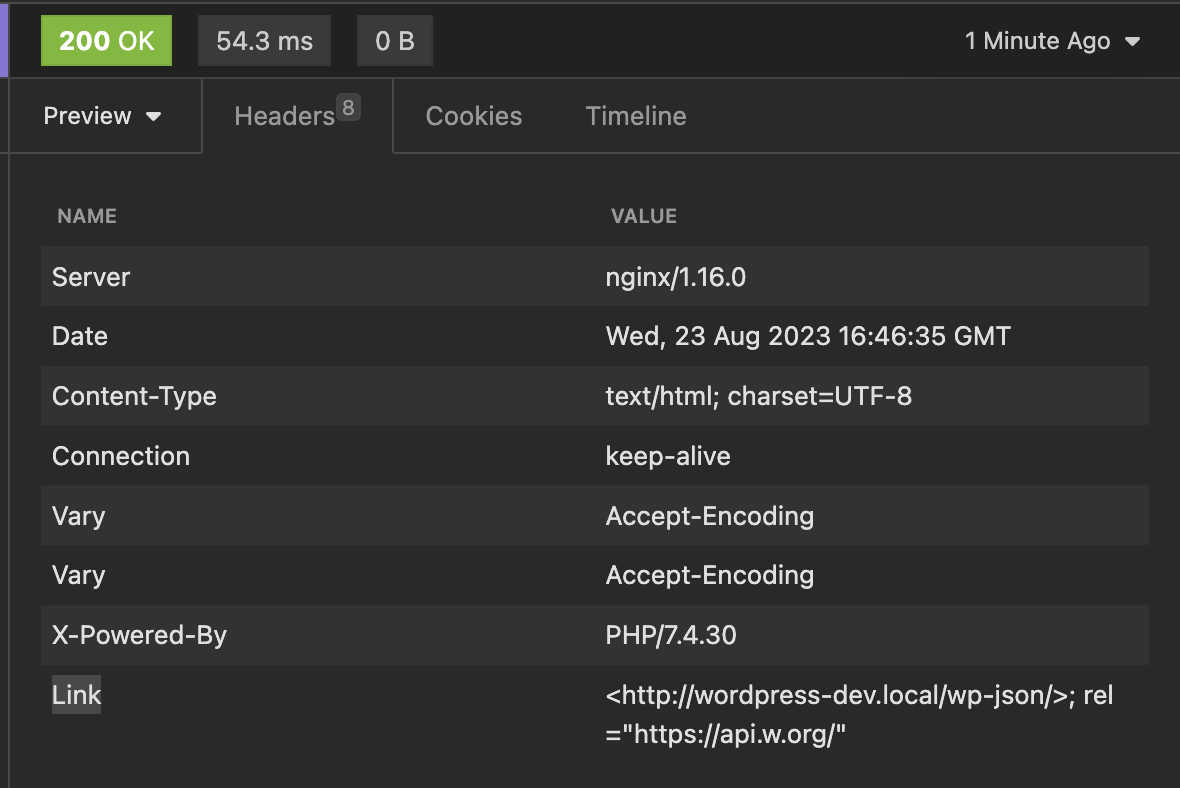
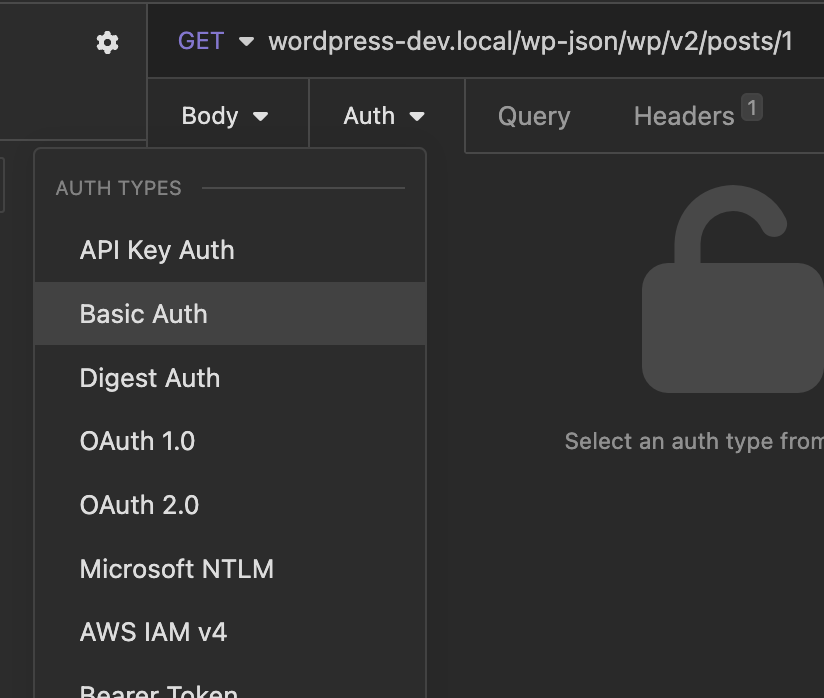
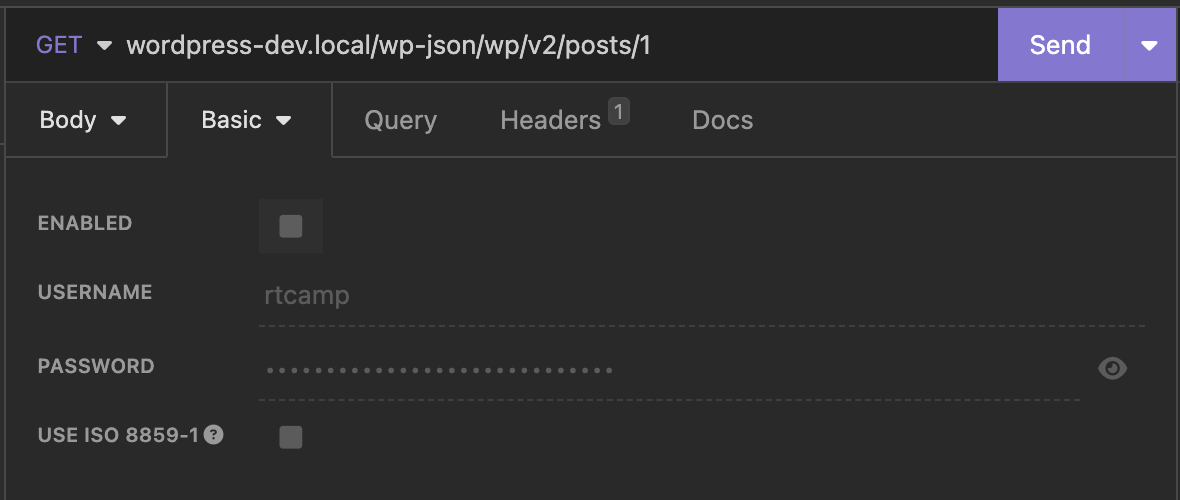
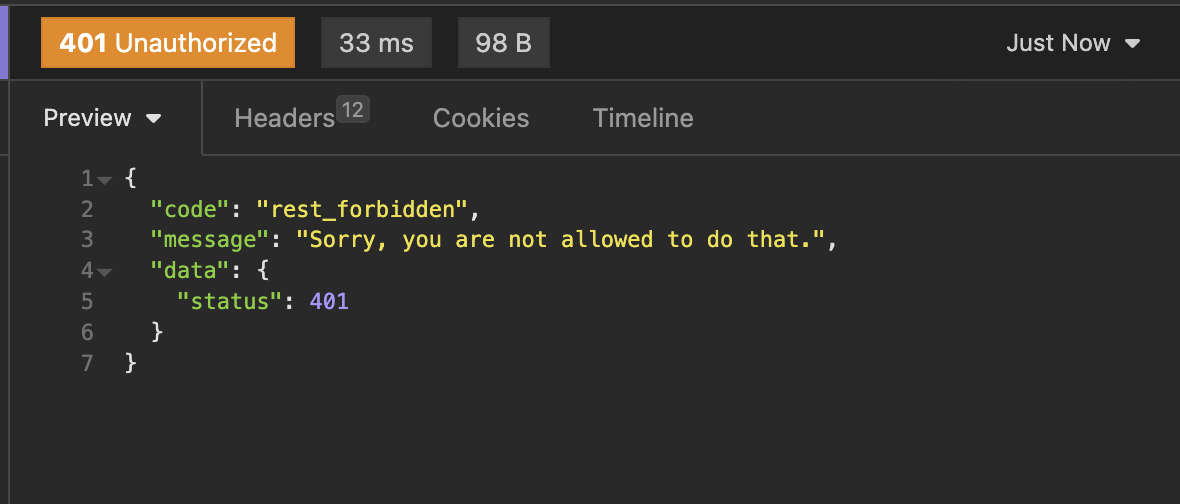
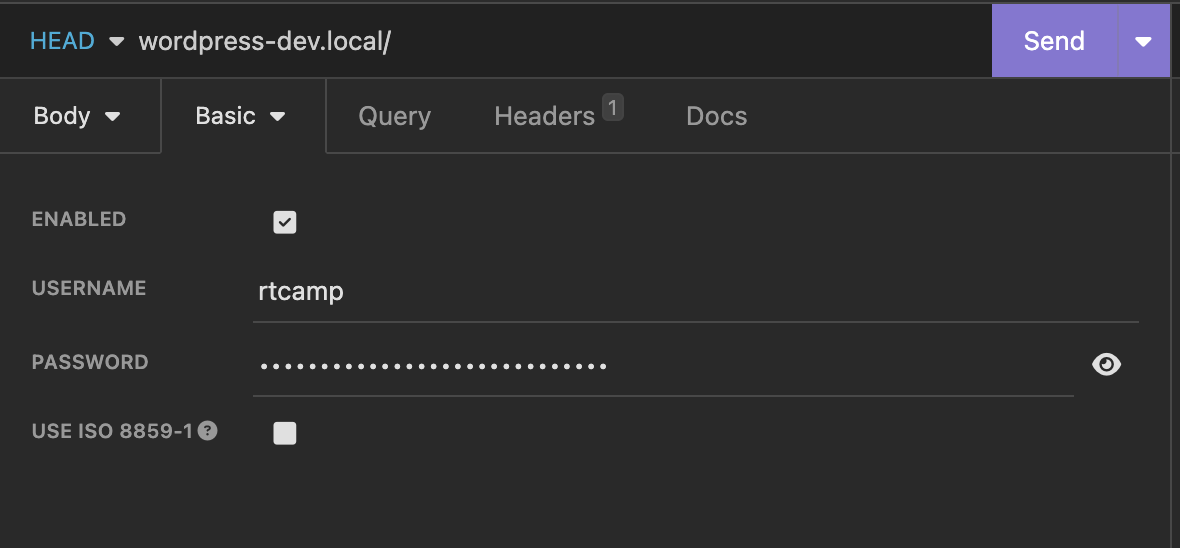
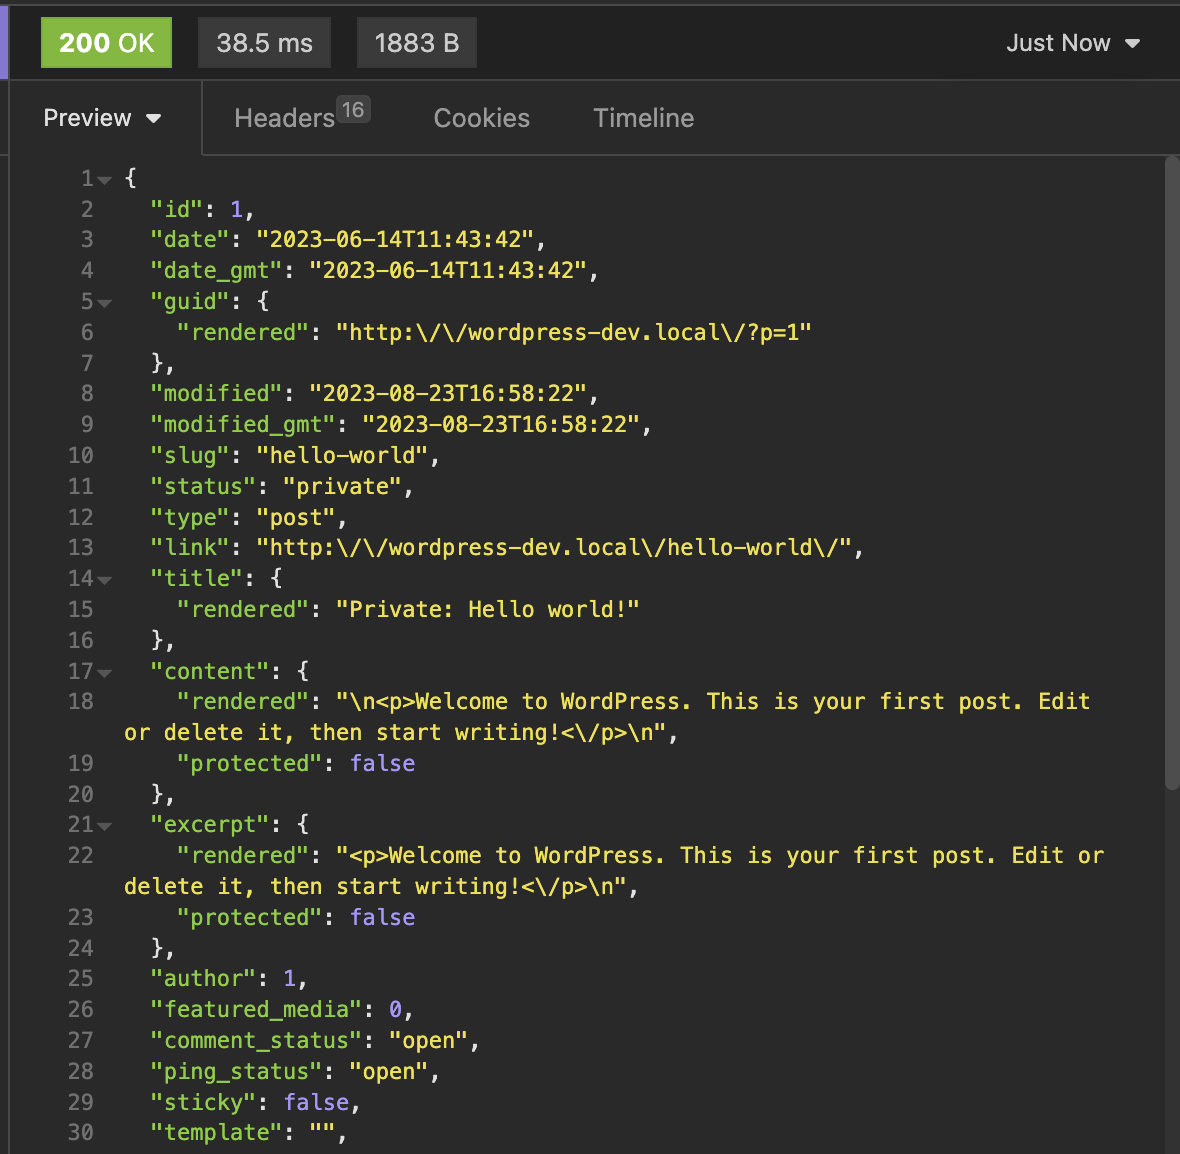
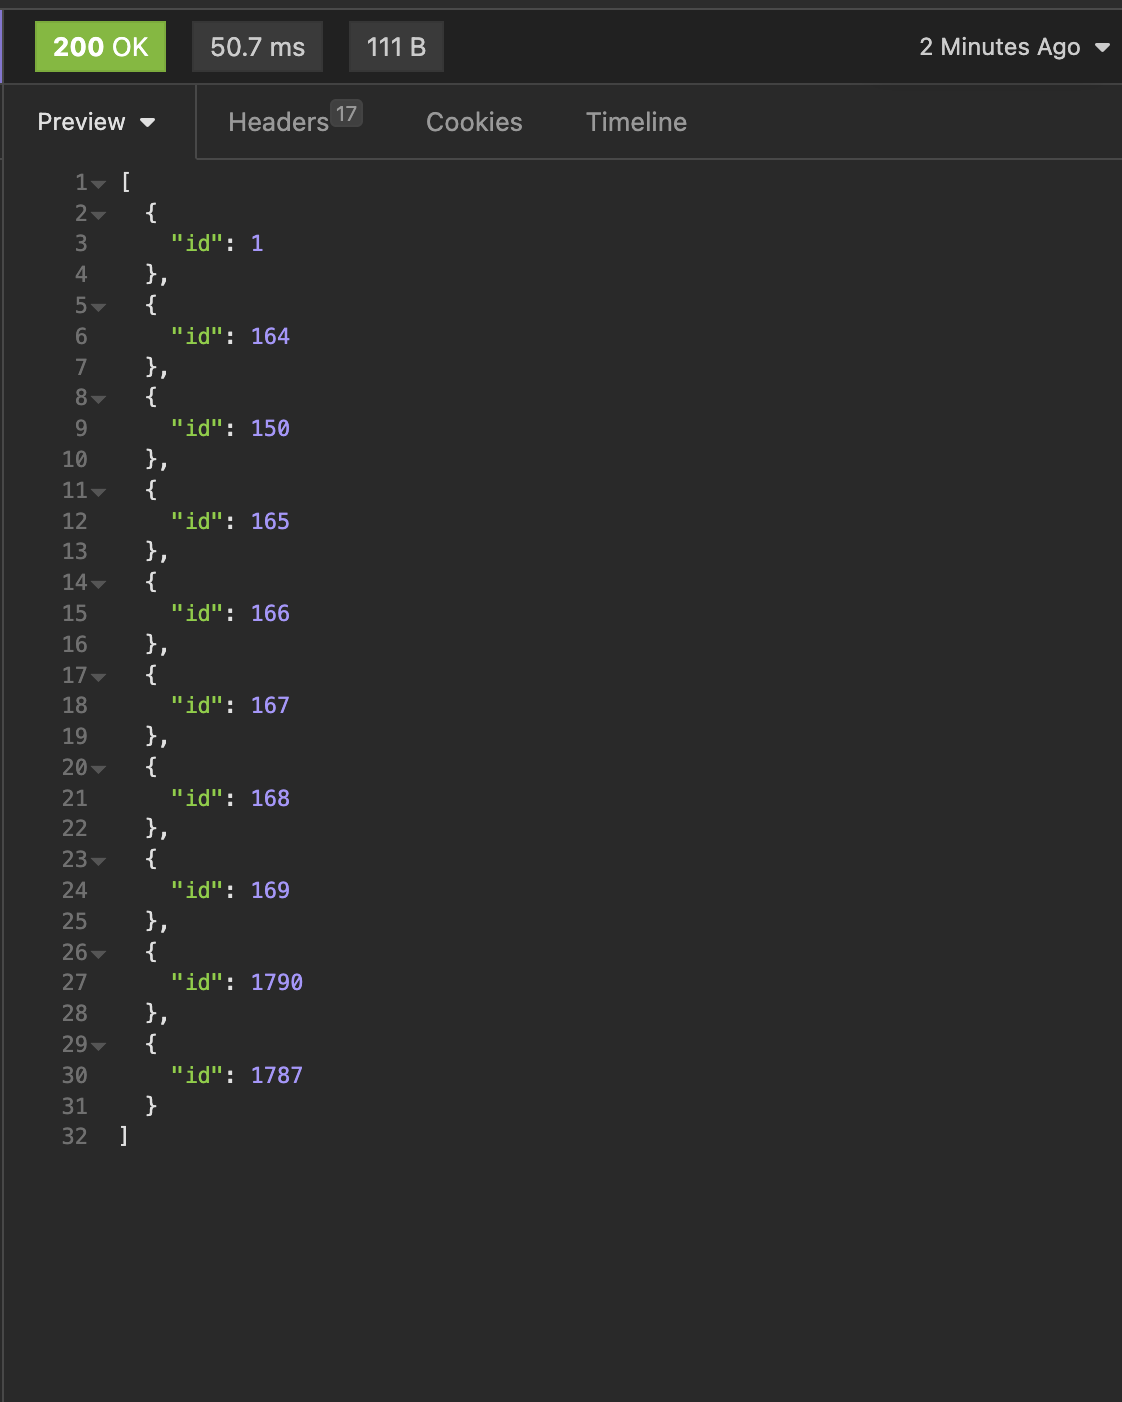
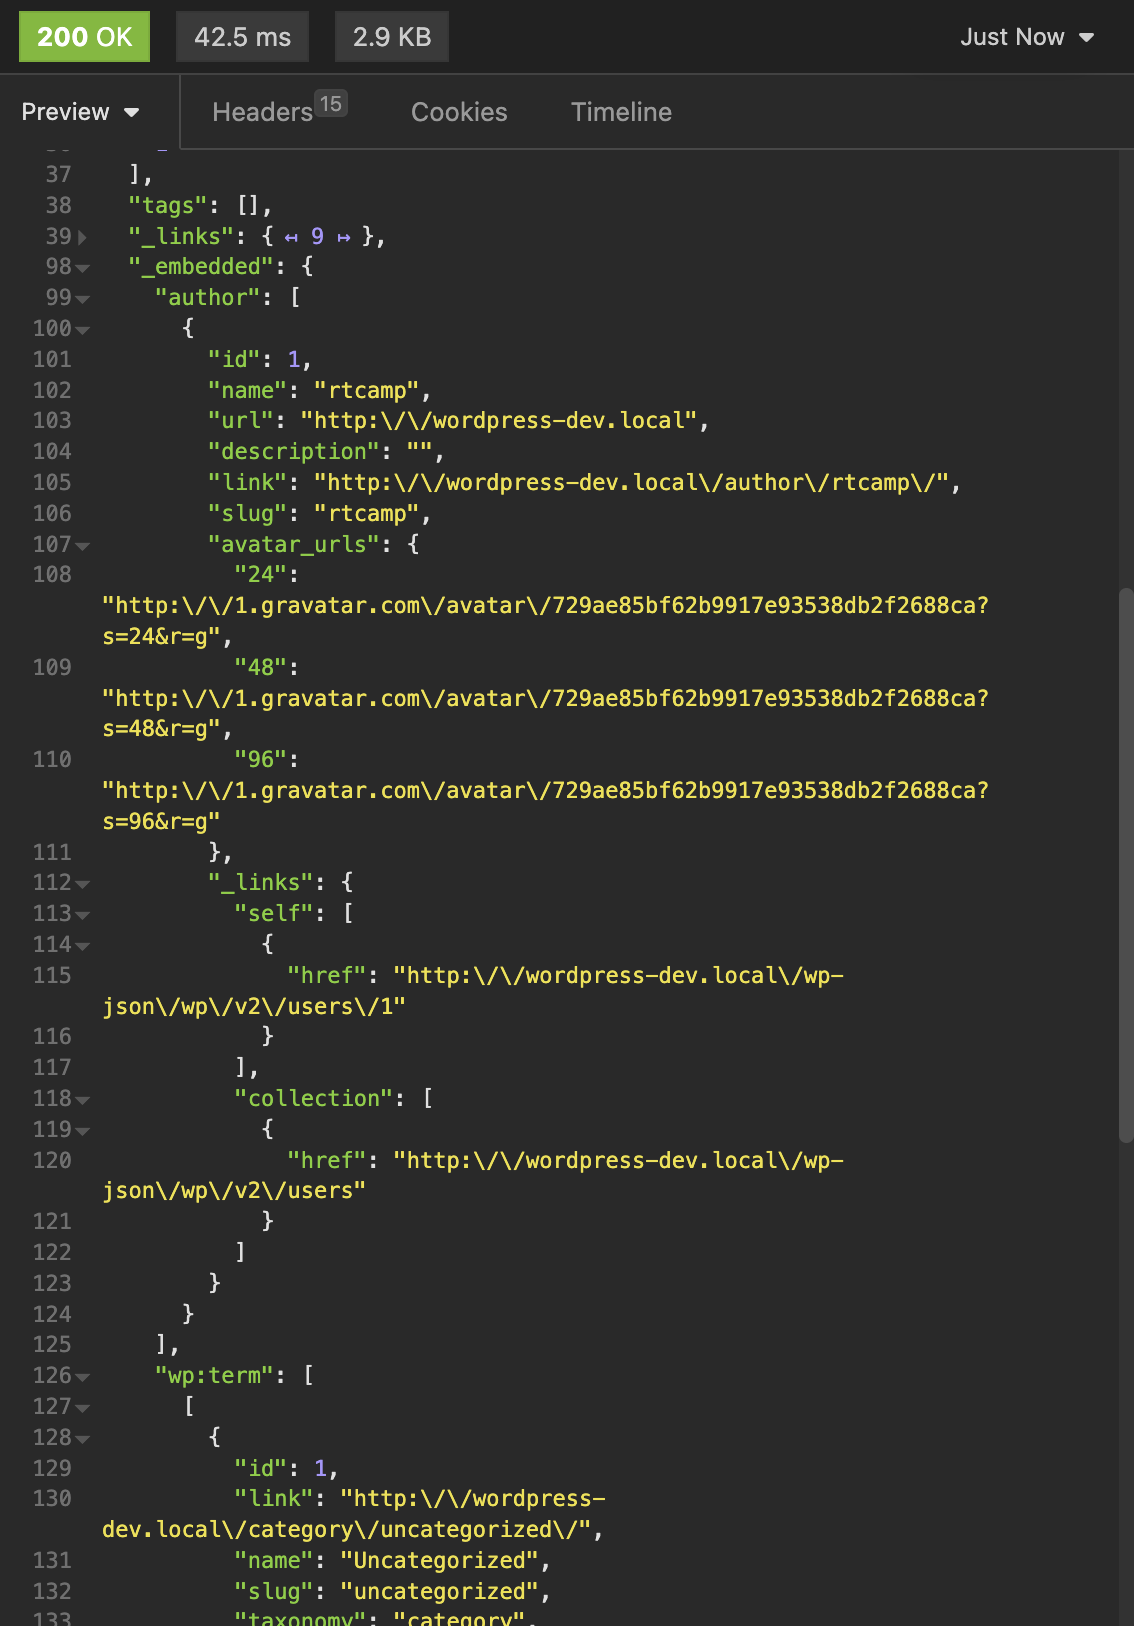
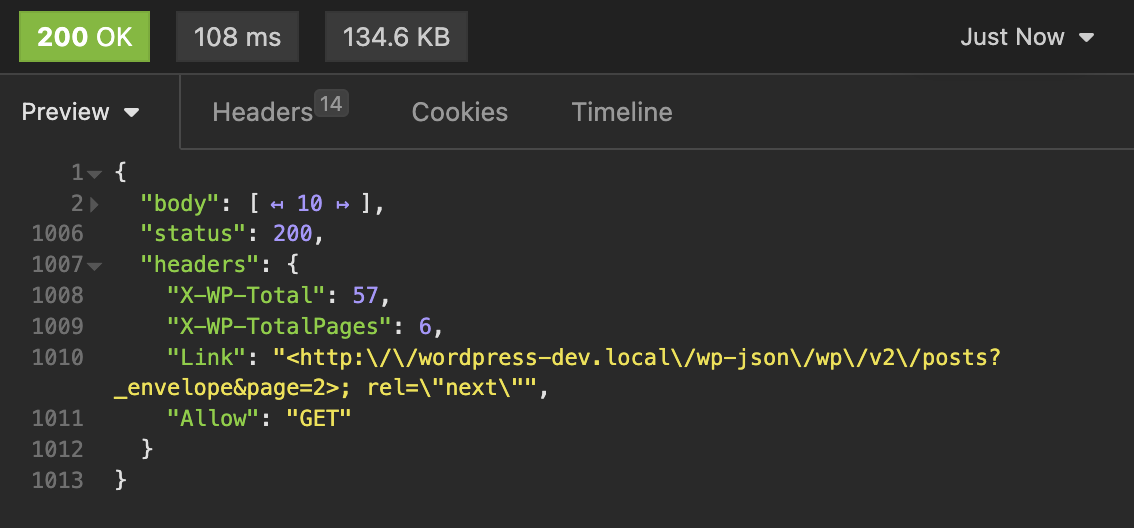
We can see that when sent a get request to site root , we get the Link header containing the API link.
But if we try to access it, it will give 404 error, as only updating from here will not be enough we will have to update the rewrite rules too.
For that we can quickly go to settings>permalinks and click on save to rewrite the rules, and it starts working.
Just because we can change the base, should we?
No, in most cases except for some use cases we don’t have to change the base as other plugins or applications maybe depend upon that.
Can we create a subcommand for a main command like core, db or something?
Yes, we can. While registering the command we can add it as a subcommand for other command
/**
* Say hello
*/
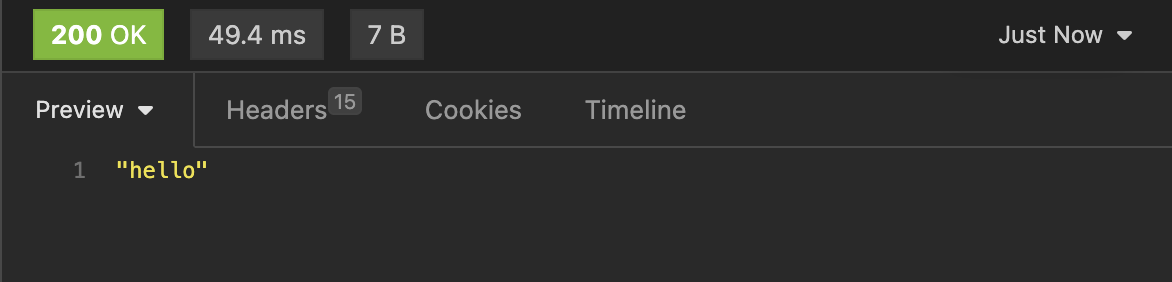
function sayhello(){
WP_CLI::error('hello');
}
WP_CLI::add_command('core sayhello' , 'sayhello');
This will register a sub command sayhello under core command

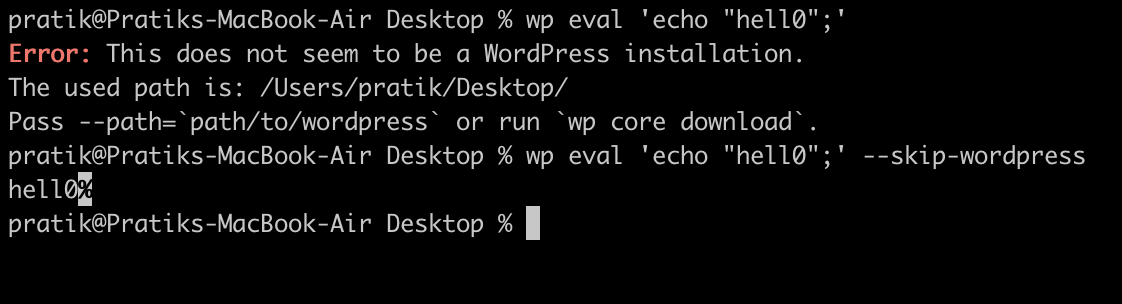
WP CLI not only supports success and error log but also below output methods:
WP_CLI::error('hello');WP_CLI::success('hello');WP_CLI::line('hello');WP_CLI::warning('hello');
Or we can just use our echo to output
Here is how they all look from CLI

Notice that I have put the error at the end, as putting it before will just terminate the execution and other output will not work.
Can we set the positional arguments in CLI as optional?
Positional arguments can be made optional by wrapping them in []
/**
 * Say hello
 *
 * ## OPTIONS
 *
 * [<name>]
 * : Name of person
 */
function sayhello(){
.....